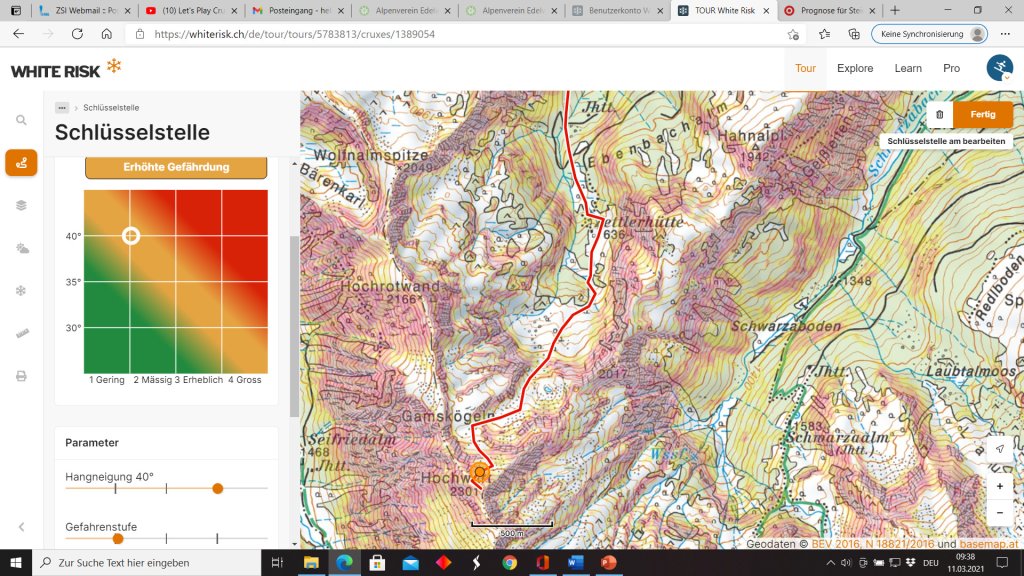
I find the option of defining alternative routes and naming specific key points very useful. A separate menu window then appears for these key points to assess the risk. In this menu, factors such as steepness and avalanche warning level can be set precisely and the risk is calculated accordingly. A very good solution is that the avalanche warning level is not displayed on an ordinal scale (school grading scale) but on an interval scale, i.e. you can also move the slider - based on the additional information of the LLB - to positions between the levels and thus set a "low" 2 (closer to 1) or a "high" 2 (closer to 3), for example. Of course, this option also offers the danger of "redefining" the crux so that the climbability is just "right" for your personal risk acceptance. This requires honesty and discipline towards yourself and the group. In addition, special conditions, such as favorable slope conditions, as well as favorable and unfavorable factors can be set.
It is also very practical that there is a separate menu window for determining the time frame of the tour, where you can very easily define with a slider whether you want to set up the tour comfortably or rather quickly and then immediately convert the whole thing into hours or times (you can also set the time in hours or times).
The entire tour planning can then be saved as a PDF and sent to all participants if required. Conveniently, you can enter the participants with their e-mail addresses and then distribute the tour via various social media channels and AirDrop without any effort. Of course, the track can also be saved as a gpx file. I find both very useful.
In addition, there are a number of very useful additional tools in the planning interface. On the one hand, there are links to external sources of information such as LWDs and numerous weather apps (precipitation radar etc.) and on the other hand, the "Measure and take bearings" function is also very practical. This gives you a ruler that can be used to measure distances and bearing angles to surrounding mountains etc. You could also create a classic "tour sketch" with the respective section distances and bearings. For example, if you know that it is going to be very foggy, or as a navigation exercise. You can also comment on tours that you have saved and use the app as a kind of digital tour book.
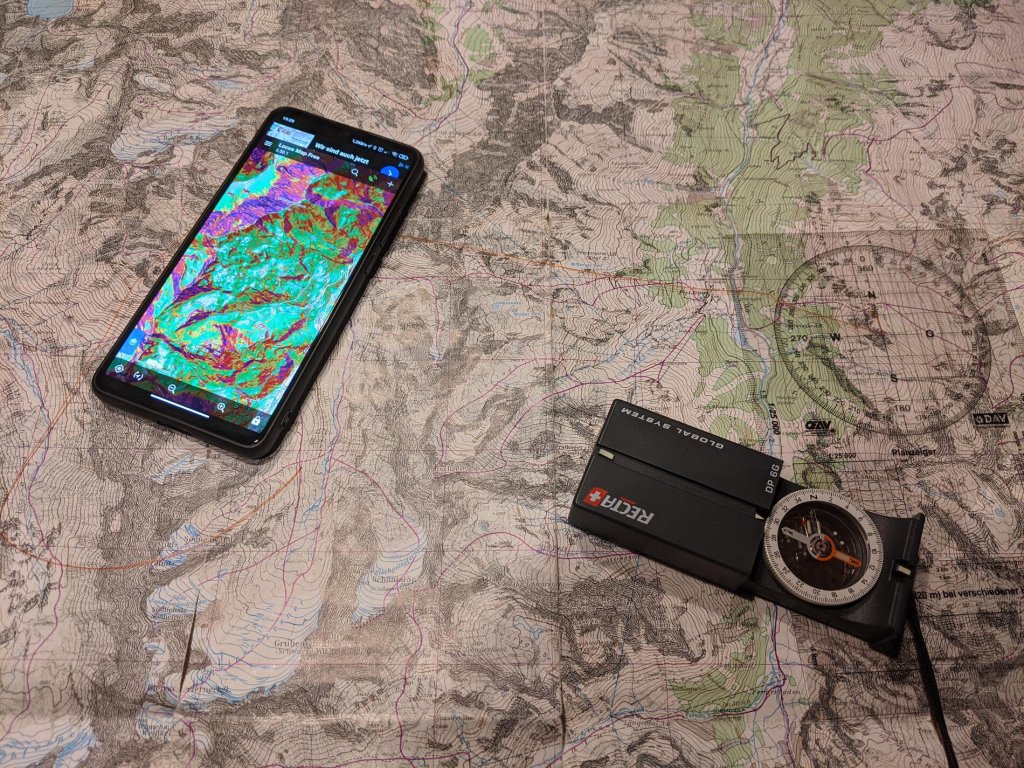
You will usually "link" the tour created/planned on the laptop with the corresponding app on the smartphone, which is easily done using the corresponding "Update" function on the smartphone. As always with such apps, you should not forget to make the relevant area available offline by downloading the map section. In principle, you can then also plan on your smartphone.
It should also be mentioned that the smartphone also has the usual instrument tool such as an inclinometer or a digital version of the familiar graphical map of the reduction method, which shows the risk in relation to the avalanche warning level and slope gradient.
In Switzerland
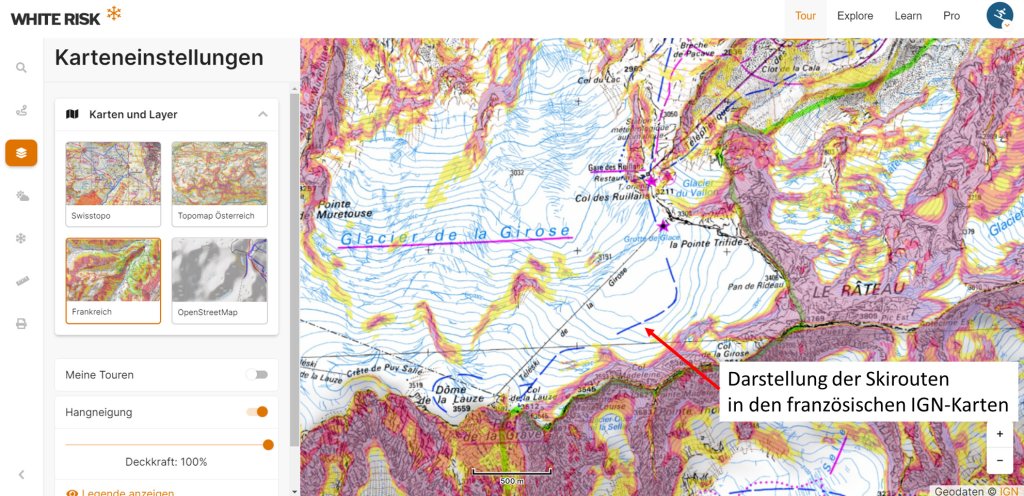
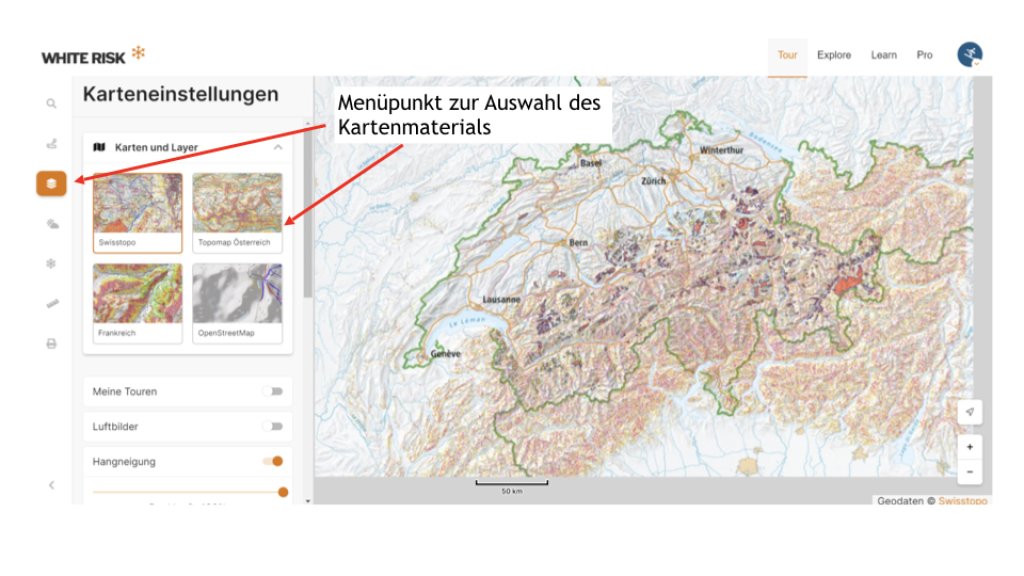
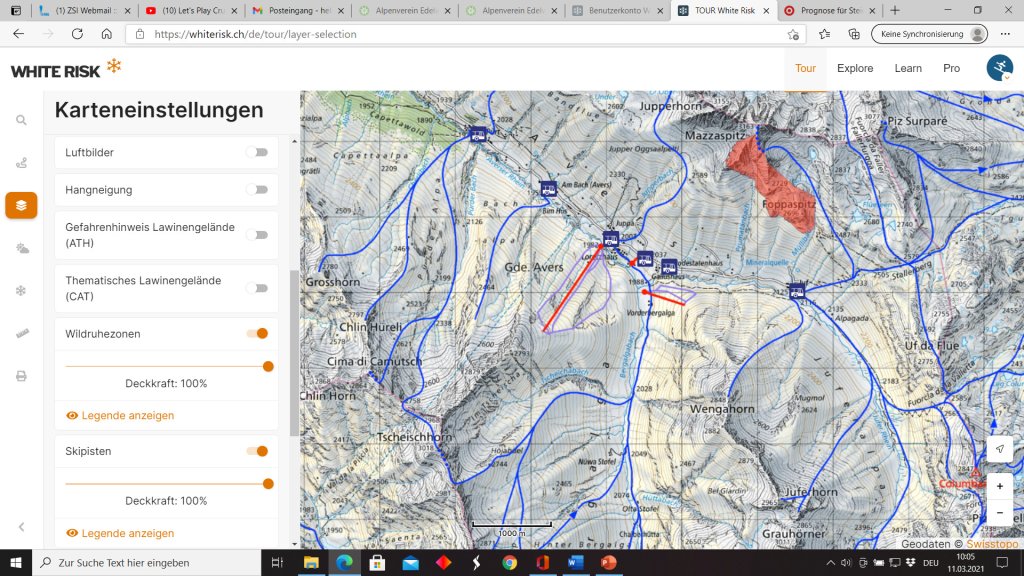
The White Risk app is particularly practical and convincing in its country of origin, Switzerland. Extensive additional information is available there. The layer in particular, which can be used to display all the tours and routes recorded by the SAC in Switzerland (and in some cases also in the directly neighboring areas of Austria, Italy and France), is very useful. The same applies to the French IGN maps, although the quality of the cartography is not quite as outstanding and the routes are shown more schematically. Other additional information that is only available for Switzerland includes, for example, the aerial map of Switzerland, display of ski slopes and snowshoe routes, wildlife rest areas and public transport stations with a link to the SBB timetable (screenshot in the gallery at the end of the article). In addition, the map layers "Avalanche terrain hazard information (ATH)" and "Thematic avalanche terrain (CAT)" are also available.
The planning effort in these areas (availability of Swiss Topo with the marked routes) is therefore minimal. This is ideal if you always try to ski in the "best" conditions and therefore don't want to lug around tons of tour literature - which you don't even know if you'll need.
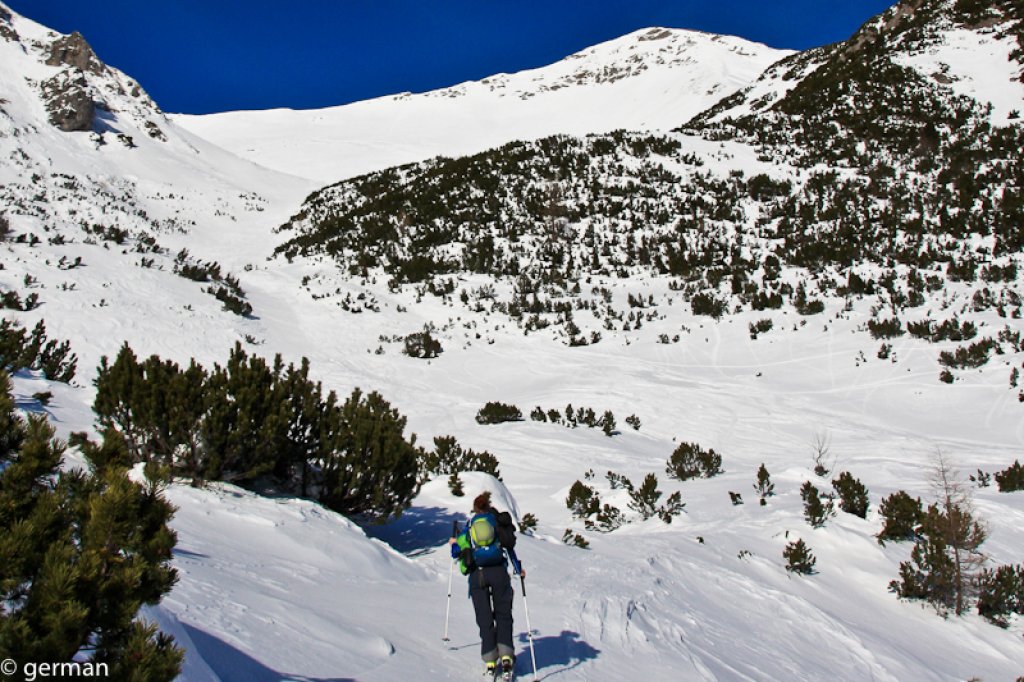
The app had its ultimate test as a navigation tool during a complete white-out through fog and snowfall on a tour on the Julier Pass in Switzerland. Although we didn't get "lost" and always knew roughly where we were, the app, the route it showed and the constant knowledge of our specific location were worth their weight in gold for fine navigation in the confusing terrain (stream ditches, small ravines, etc.) and we were able to slowly "feel our way down" below the fog line without any difficulty. In Switzerland, there is also the practical option of having key points displayed automatically. As mentioned, these can only be defined manually in Austria (and other countries). This means that you search for the critical points yourself based on the steepness defined by the slope inclination layer and on the basis of the contour line image (e.g. ditches & ravines, hollows, free unstructured steep slopes) and then set the key point manually.
Advantages and disadvantages
Plus:
Extensive functions and options that are constantly being improved and expanded
Direct linking of planning and navigation with avalanche-related background information and tools for independent risk assessment
Key point function with logarithm-based risk assessment, for Switzerland: Automatic recognition of the key point of the tour, for the other countries this must be done manually
Graphically and didactically very appealing preparation of avalanche science
Excellent map material for Switzerland, Austria and France (these three are considered the world's best topographical mountain maps)
Specially for Switzerland (and directly adjacent border regions): Access to the comprehensive SAC ski tour list and a wealth of additional information (aerial photos, public transport, Swiss avalanche hazard map, etc.)
.
Clean, uncluttered menu navigation
Worldwide use based on OSM maps
Minus:
.