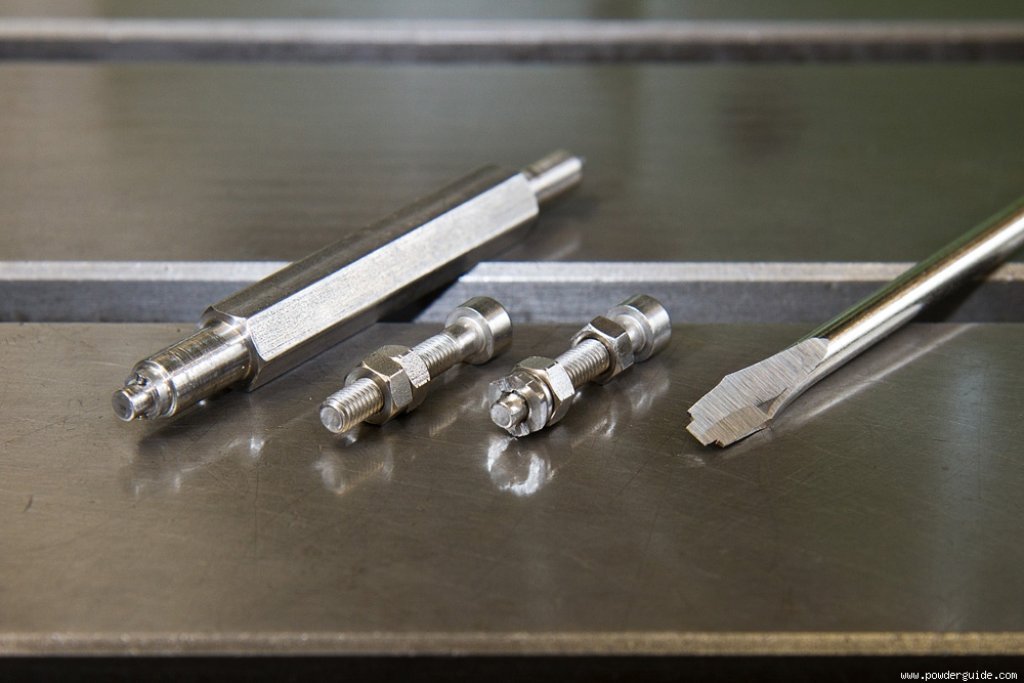
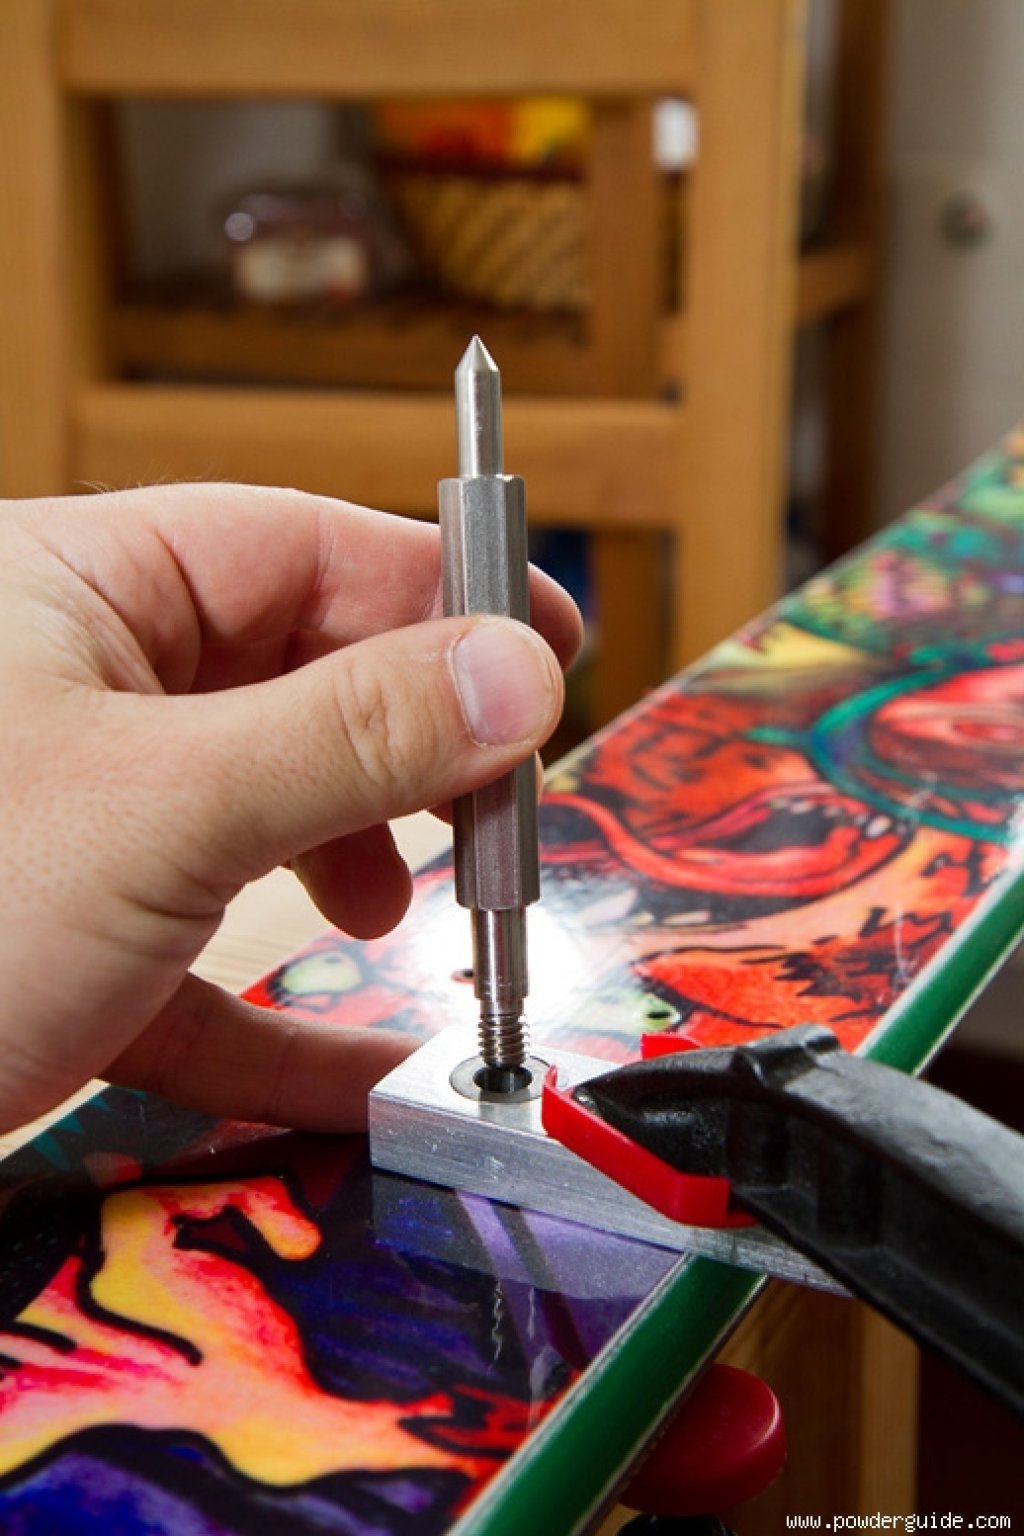
Before you can get started, you need to do a little DIY to make the necessary tools (see picture on the left). A simple tool for setting the inserts consists of a screw that can be easily clamped in a drill chuck and one or two nuts to lock the insert. However, as this can be used to unscrew the socket, a tool for screwing in the socket is recommended. You can either modify a 7 mm wide screwdriver for this purpose, or you can file a nut so that a ridge remains in the middle that engages in the socket slots, and screw it onto a screw of which the first turns of the thread have been filed round. Once you're ready, you're ready to go.
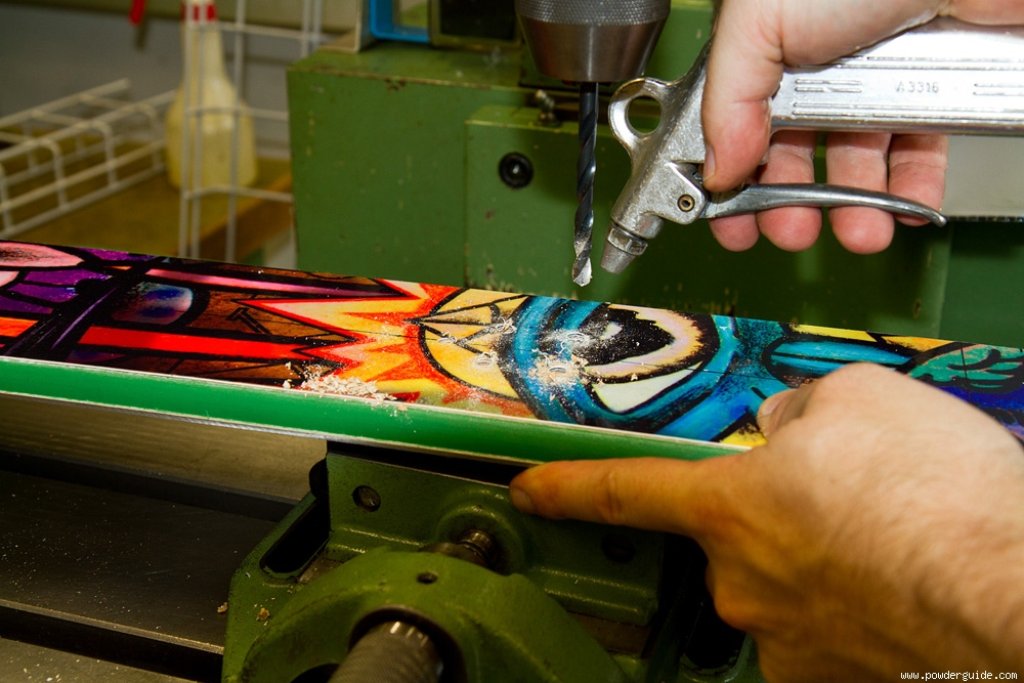
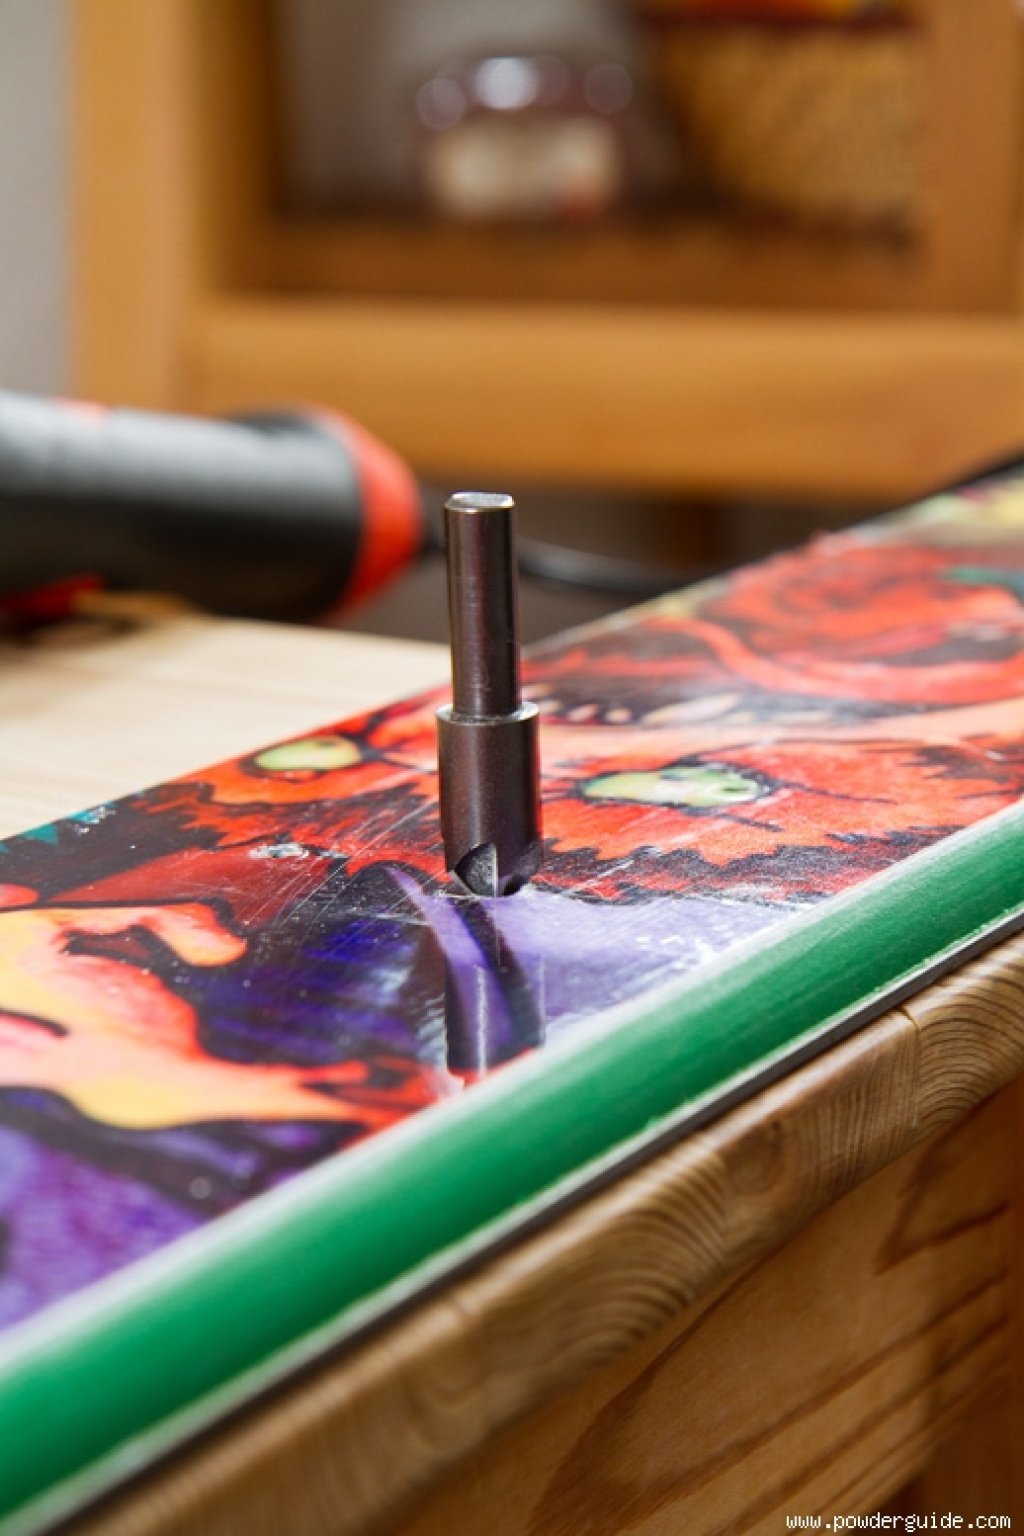
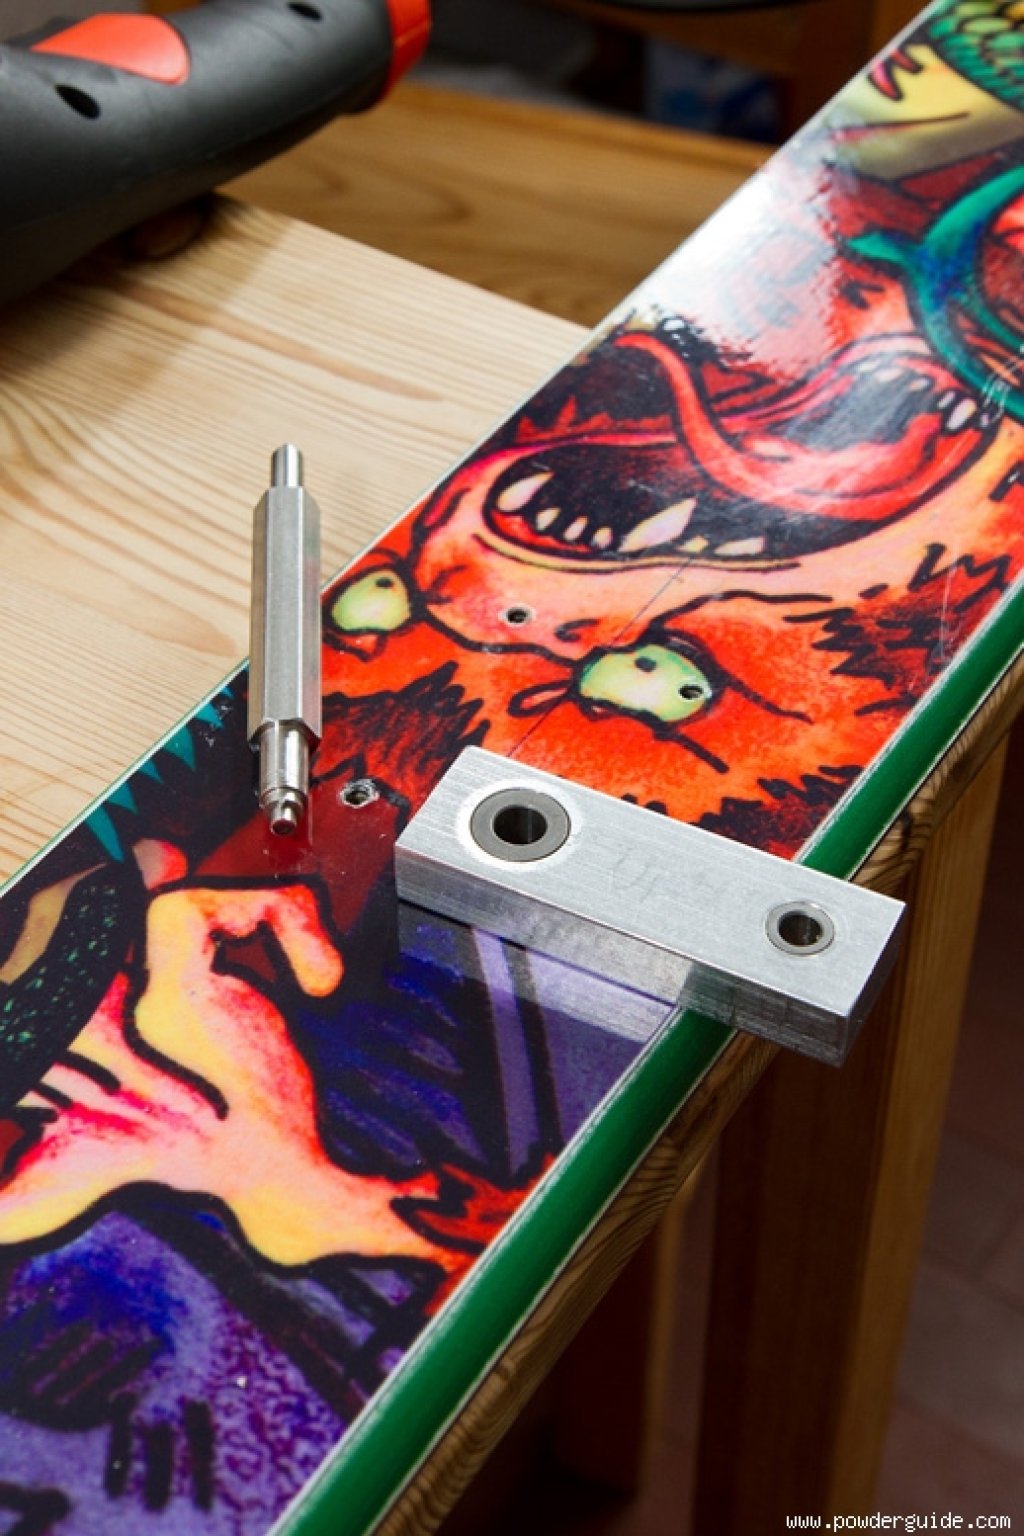
First of all, of course, you need to drill again for assembly. This is done with a 6.5 mm drill bit (see picture on the right). It doesn't matter whether existing holes are drilled out or new holes are drilled directly. The only important thing is to drill straight holes with a depth of 9-9.5 mm. Of course, they should also be positioned precisely in the right place. A stationary drill with an adjustable height stop is best suited for this. If you are working freehand, you should have the necessary dexterity. Or make your own drilling jig.
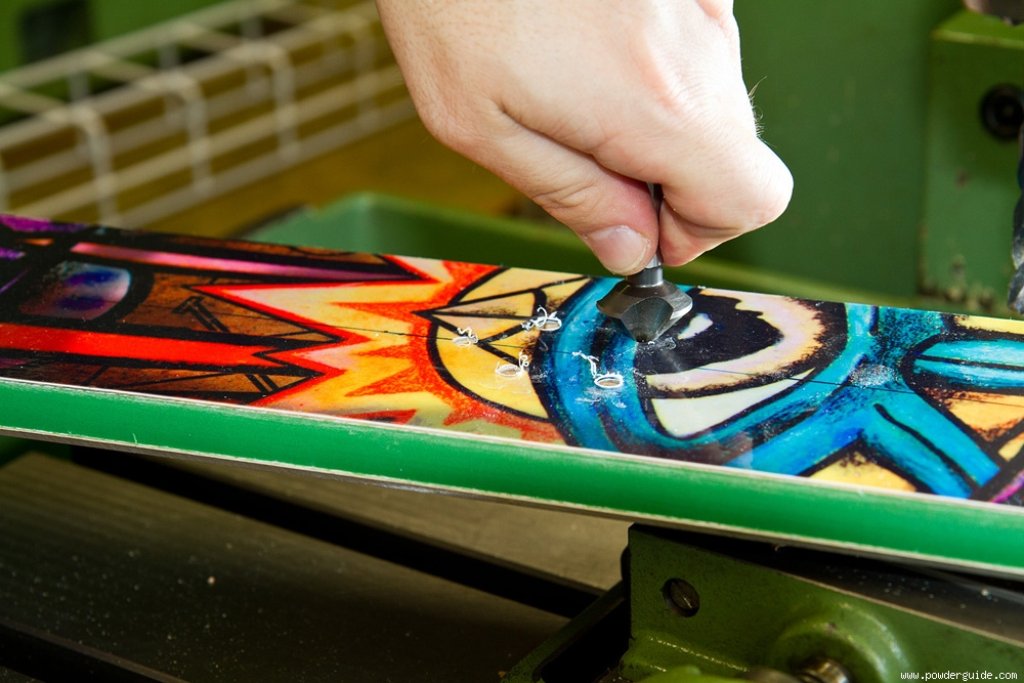
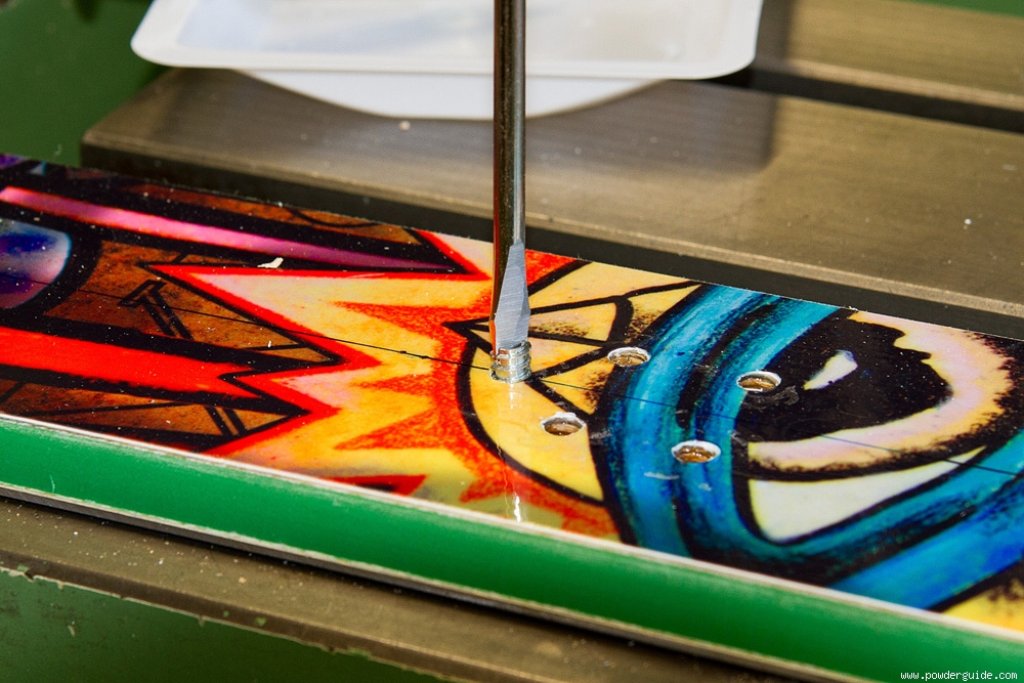
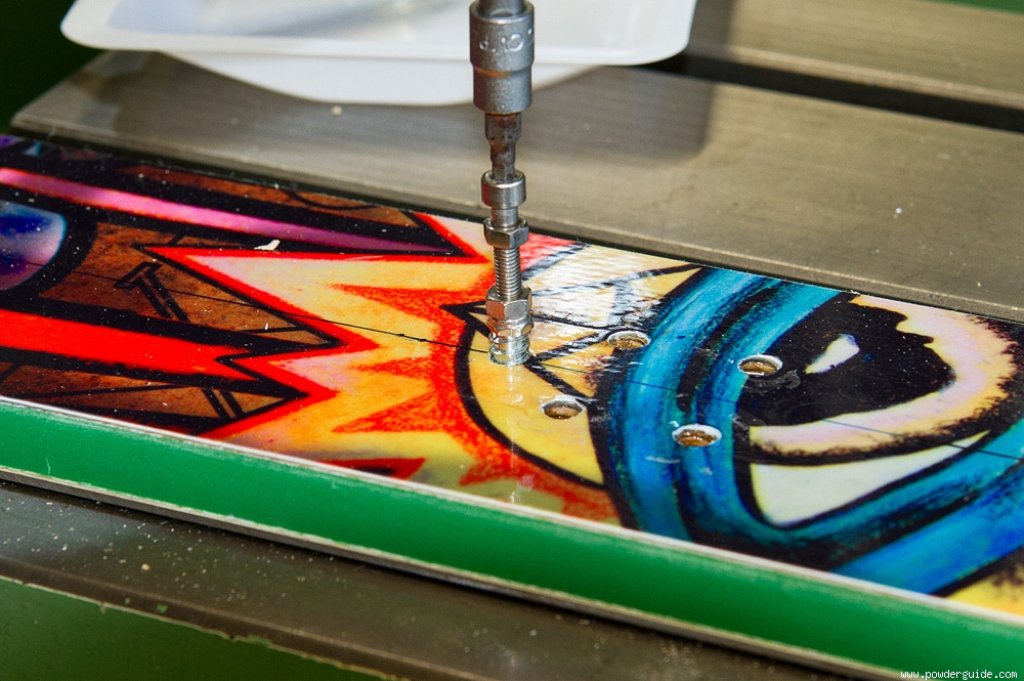
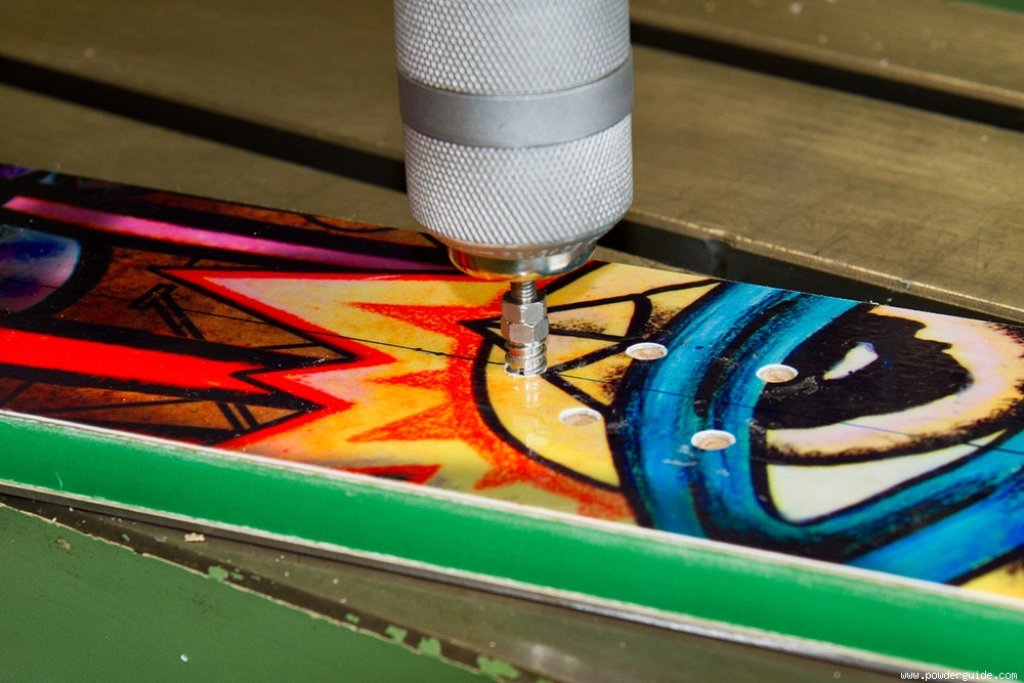
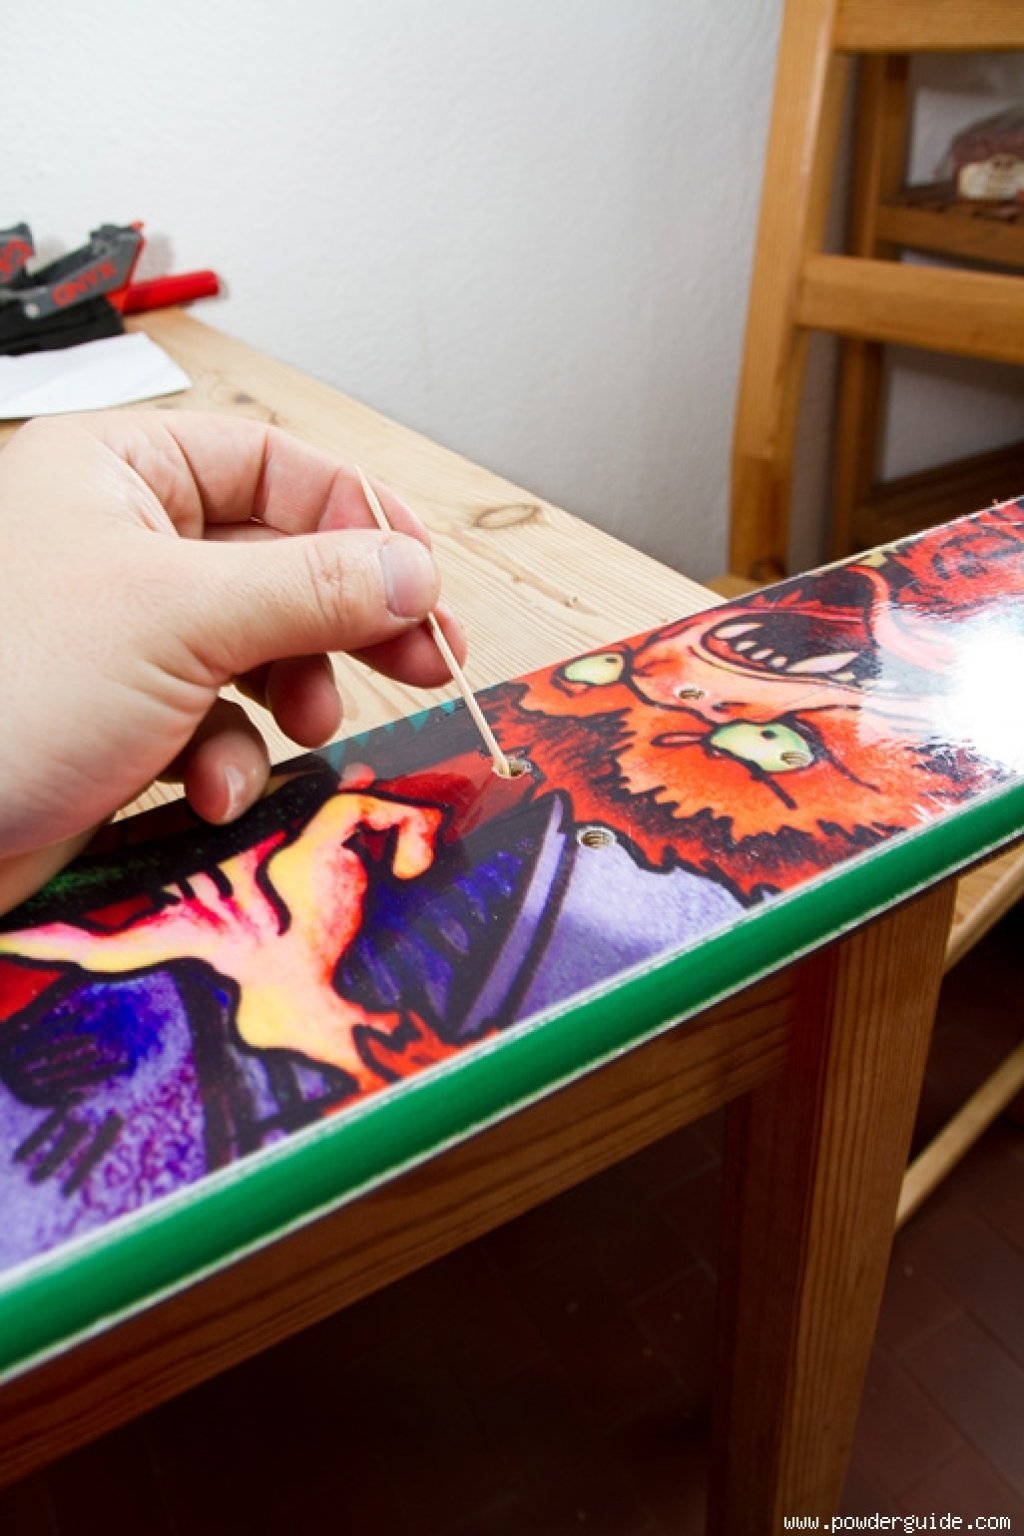
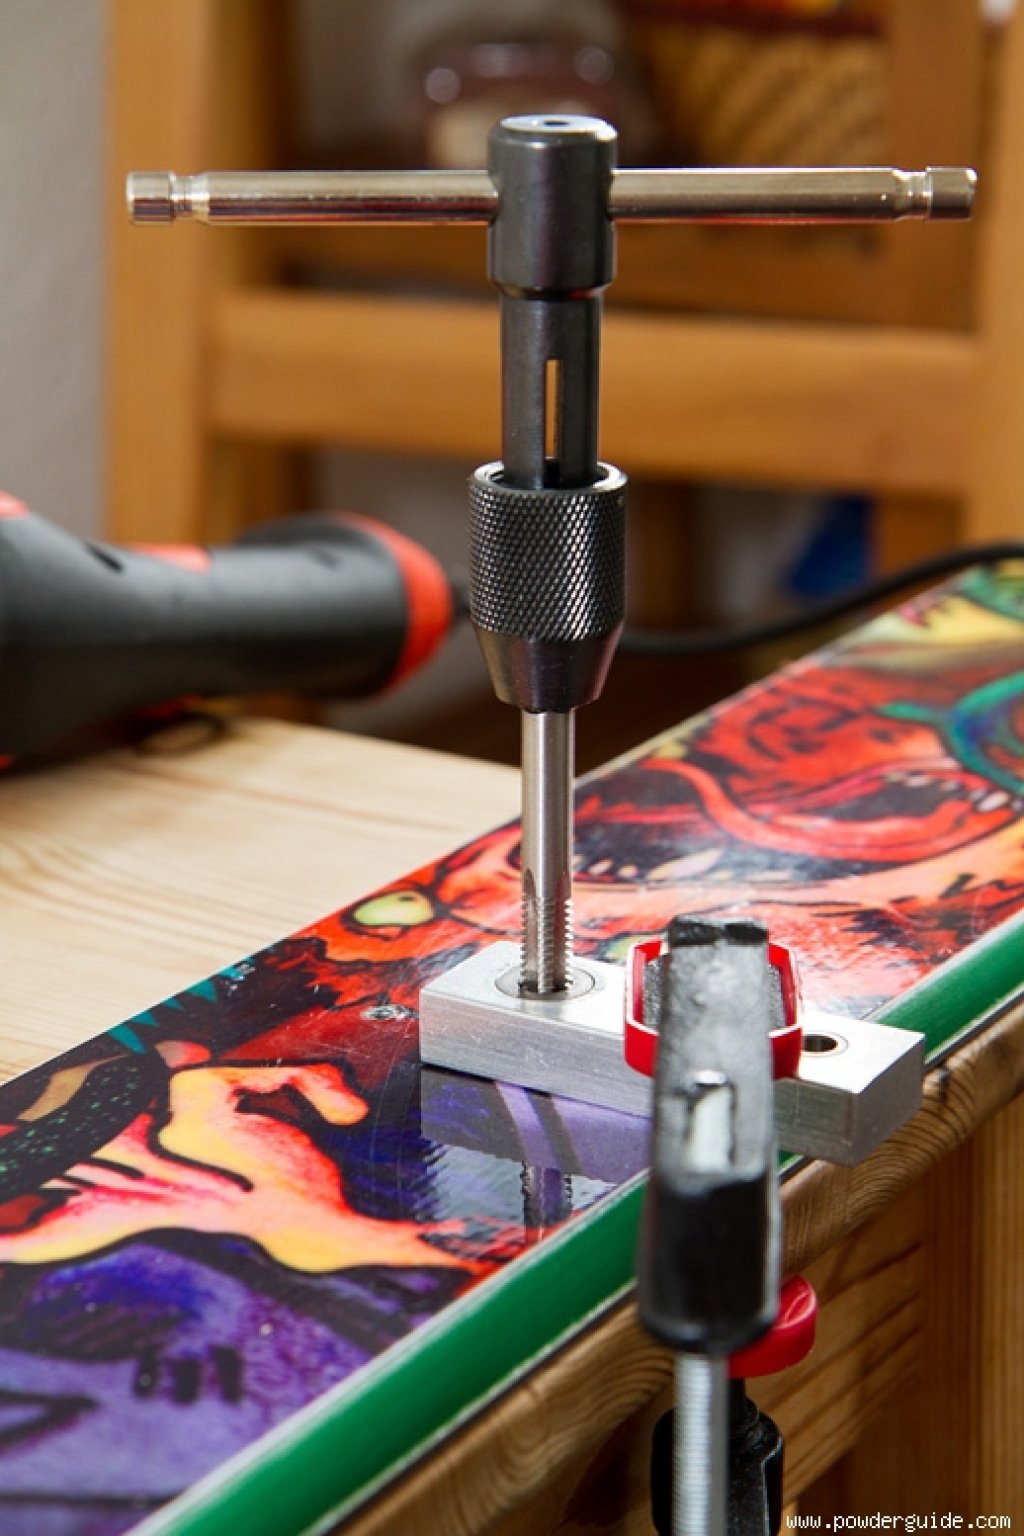
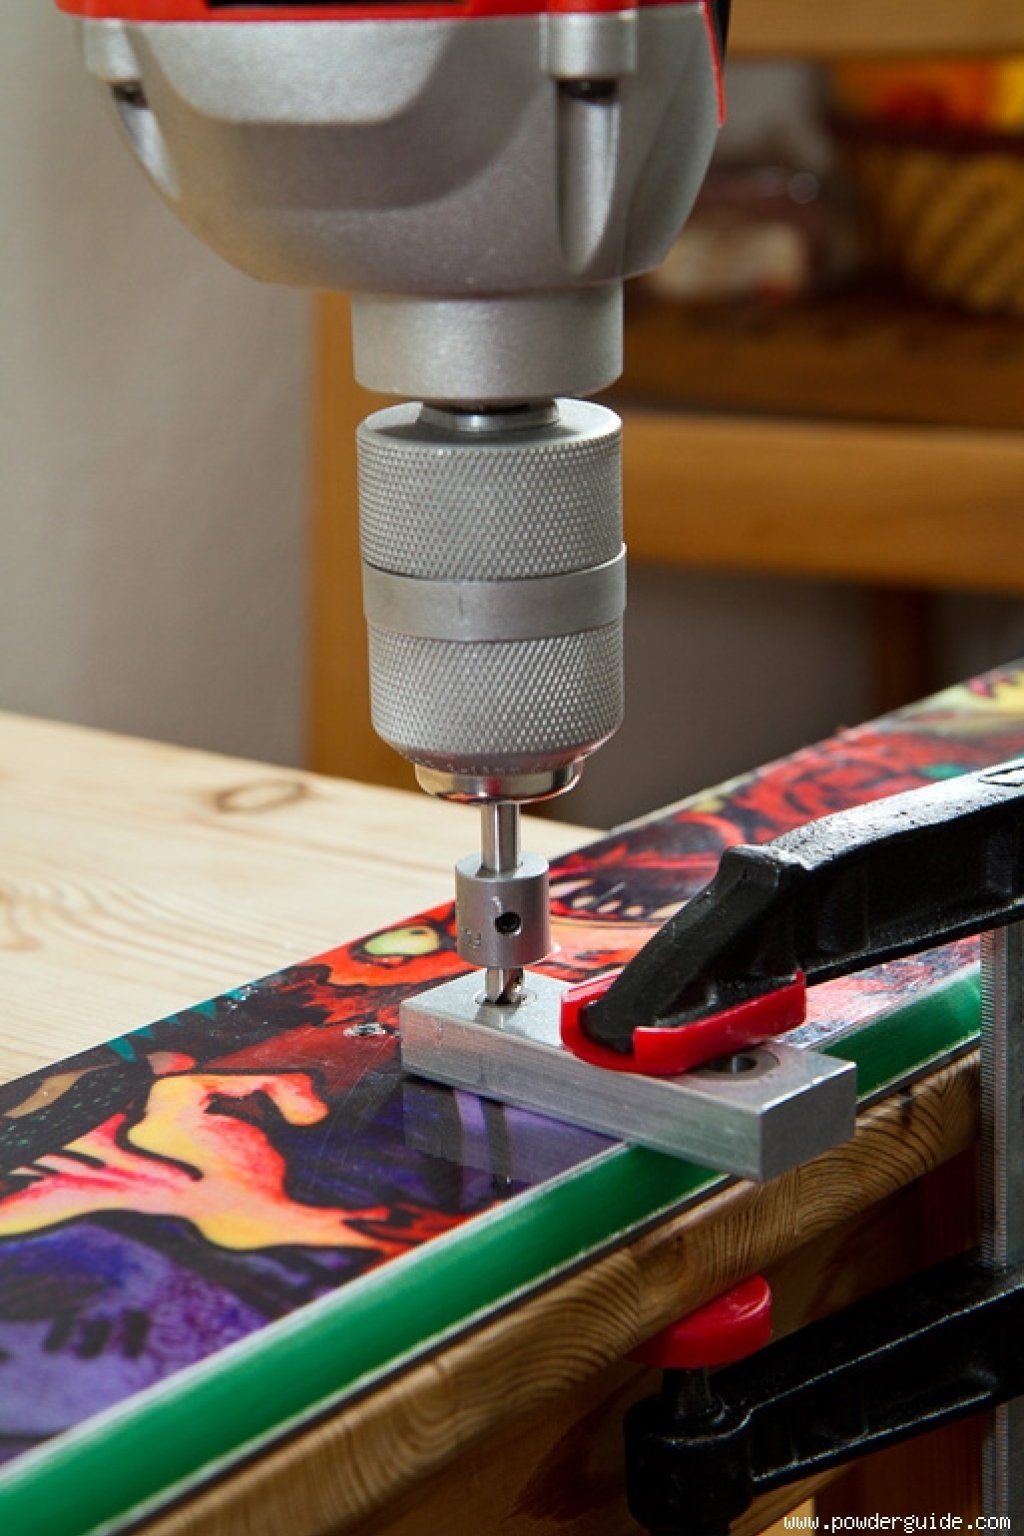
After this, the drill holes are deburred and slightly countersunk (see gallery image 1, below). Now you could of course fit the sleeves directly (see below), but it is easier to control this in two steps. One sleeve is screwed onto a screw with the slots facing downwards and firmly locked with nuts. The first mm of the internal thread should be exposed at least up to the height of the slot. The screw is now clamped in the chuck of a hand drill. This should be able to run very slowly and have a reverse gear. This tool is now used to cut the thread for the sockets in the drill holes (gallery image 2, below). The drill holes are then blown out cleanly (gallery image 3, below) and the actual setting of the inserts can begin.
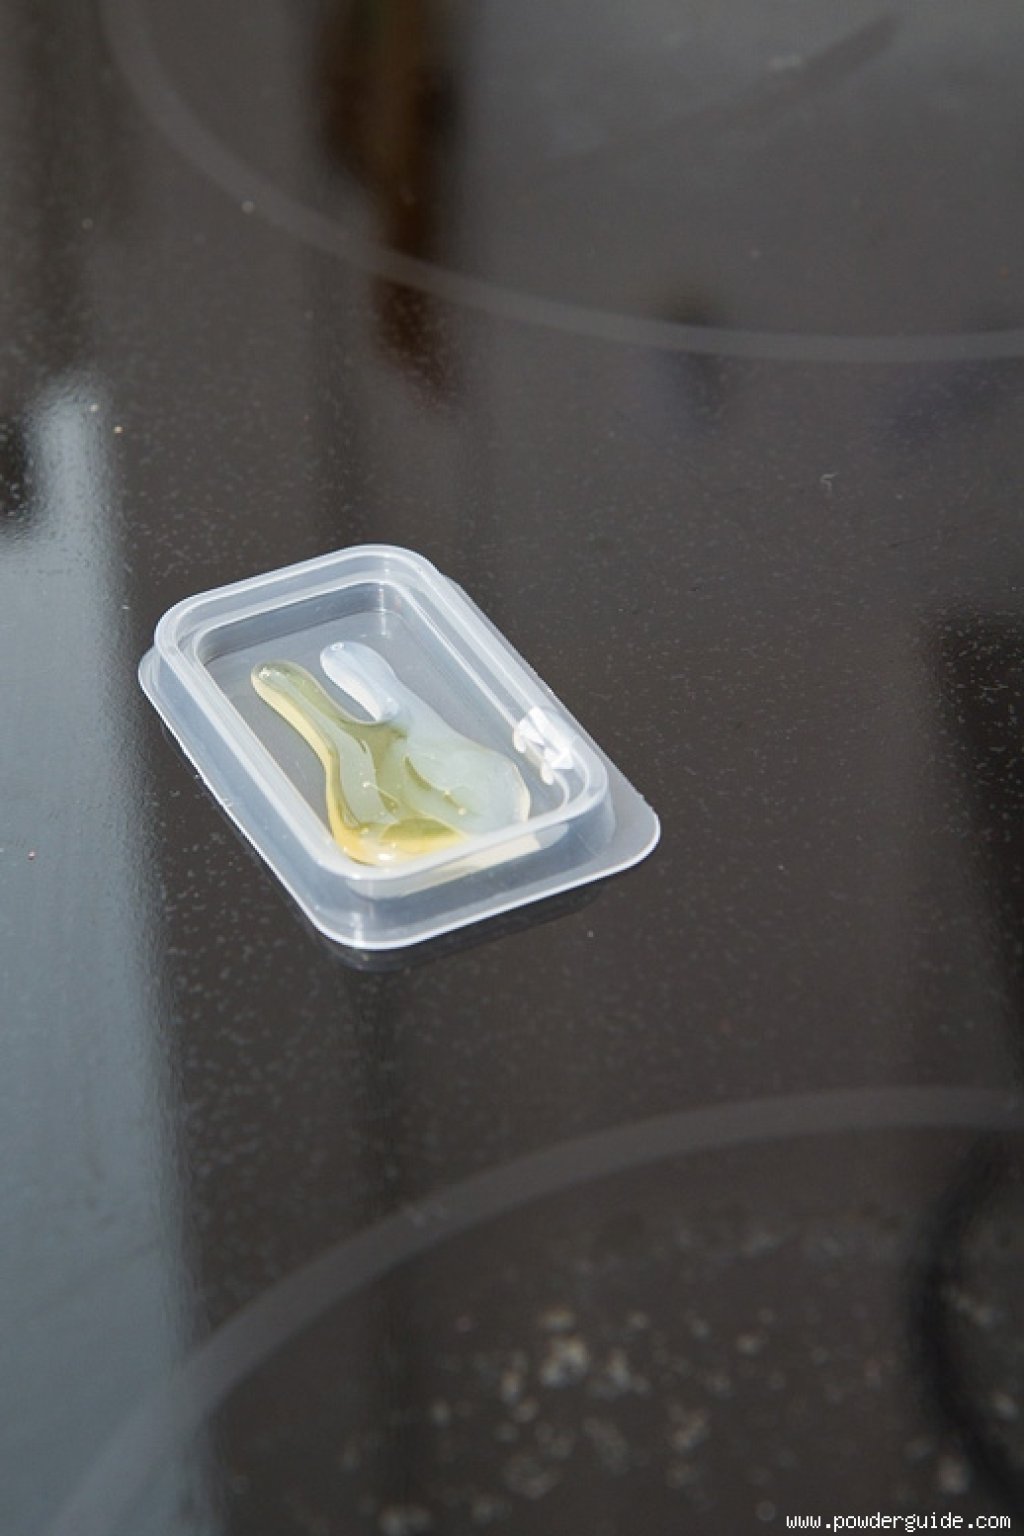
First of all, 24h epoxy is mixed. The L-resin & hardener combination from R&G has proven itself here, as the epoxy is very fluid. It has also proved useful to heat the resin directly before use. This increases the fluidity but reduces the processing time. The resin is now applied to the drill holes - preferably with a syringe and needle (gallery image 4, below). Make sure that the hole walls, and especially the base, are cleanly wetted, but that the hole is not filled with epoxy resin. Now wait a few minutes to give the resin time to soak into the wood. Little liquid resin should remain in the hole. Excess resin can be removed with cotton buds. This is important as the RAMPA sockets are open at both ends and resin can therefore be pressed into the internal thread.
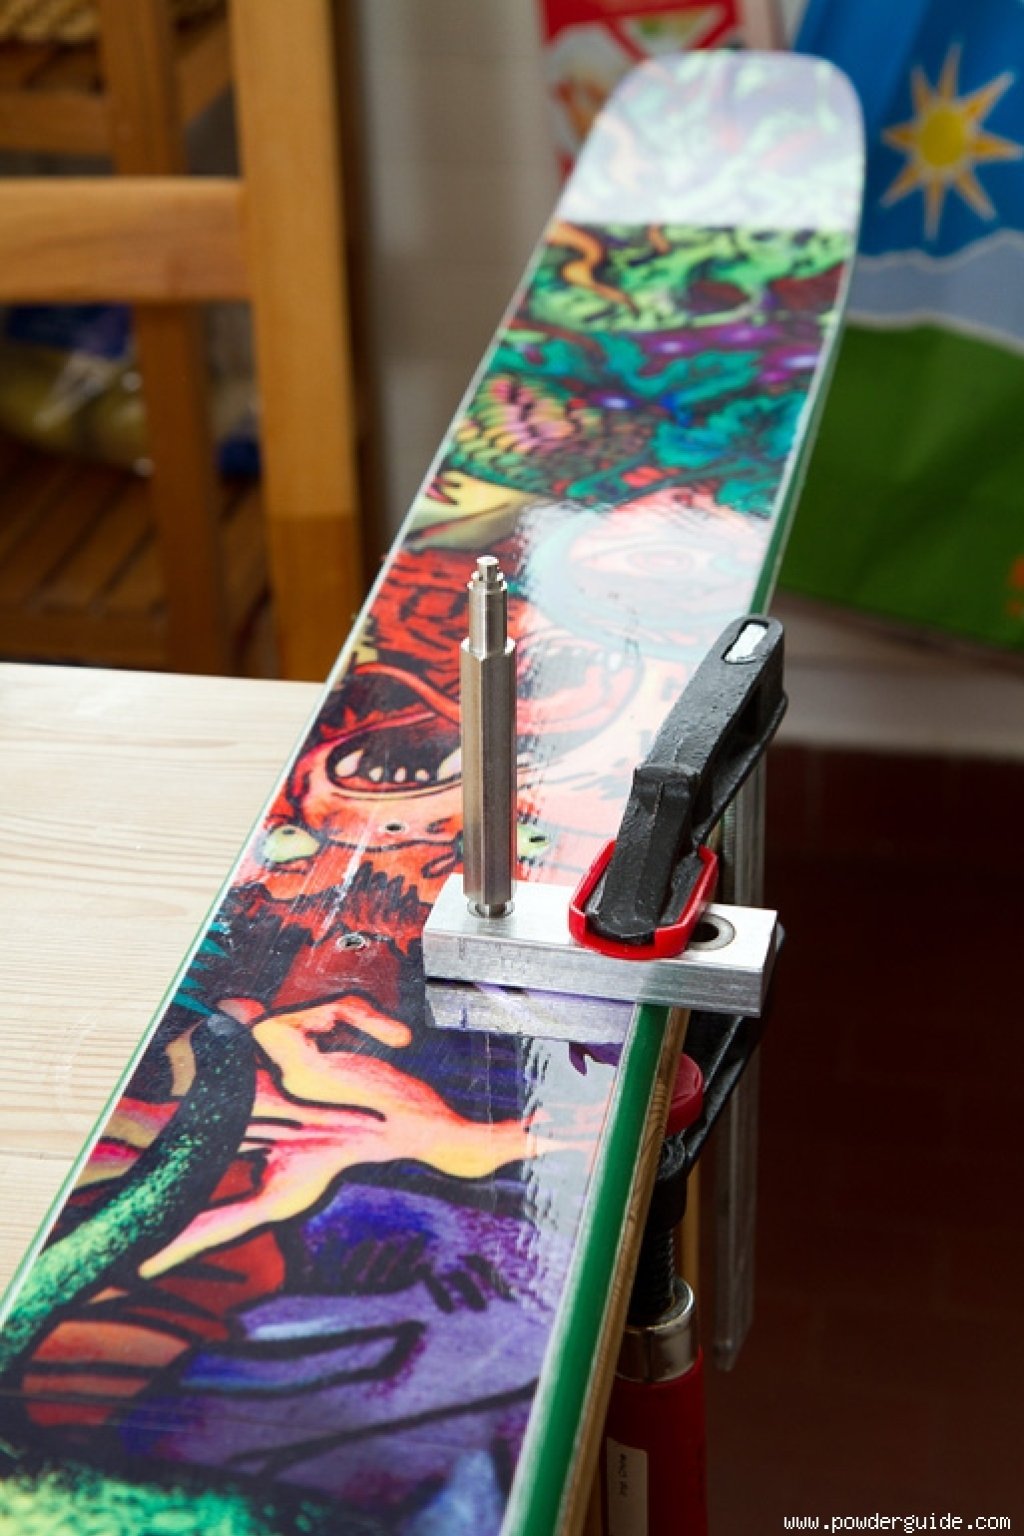
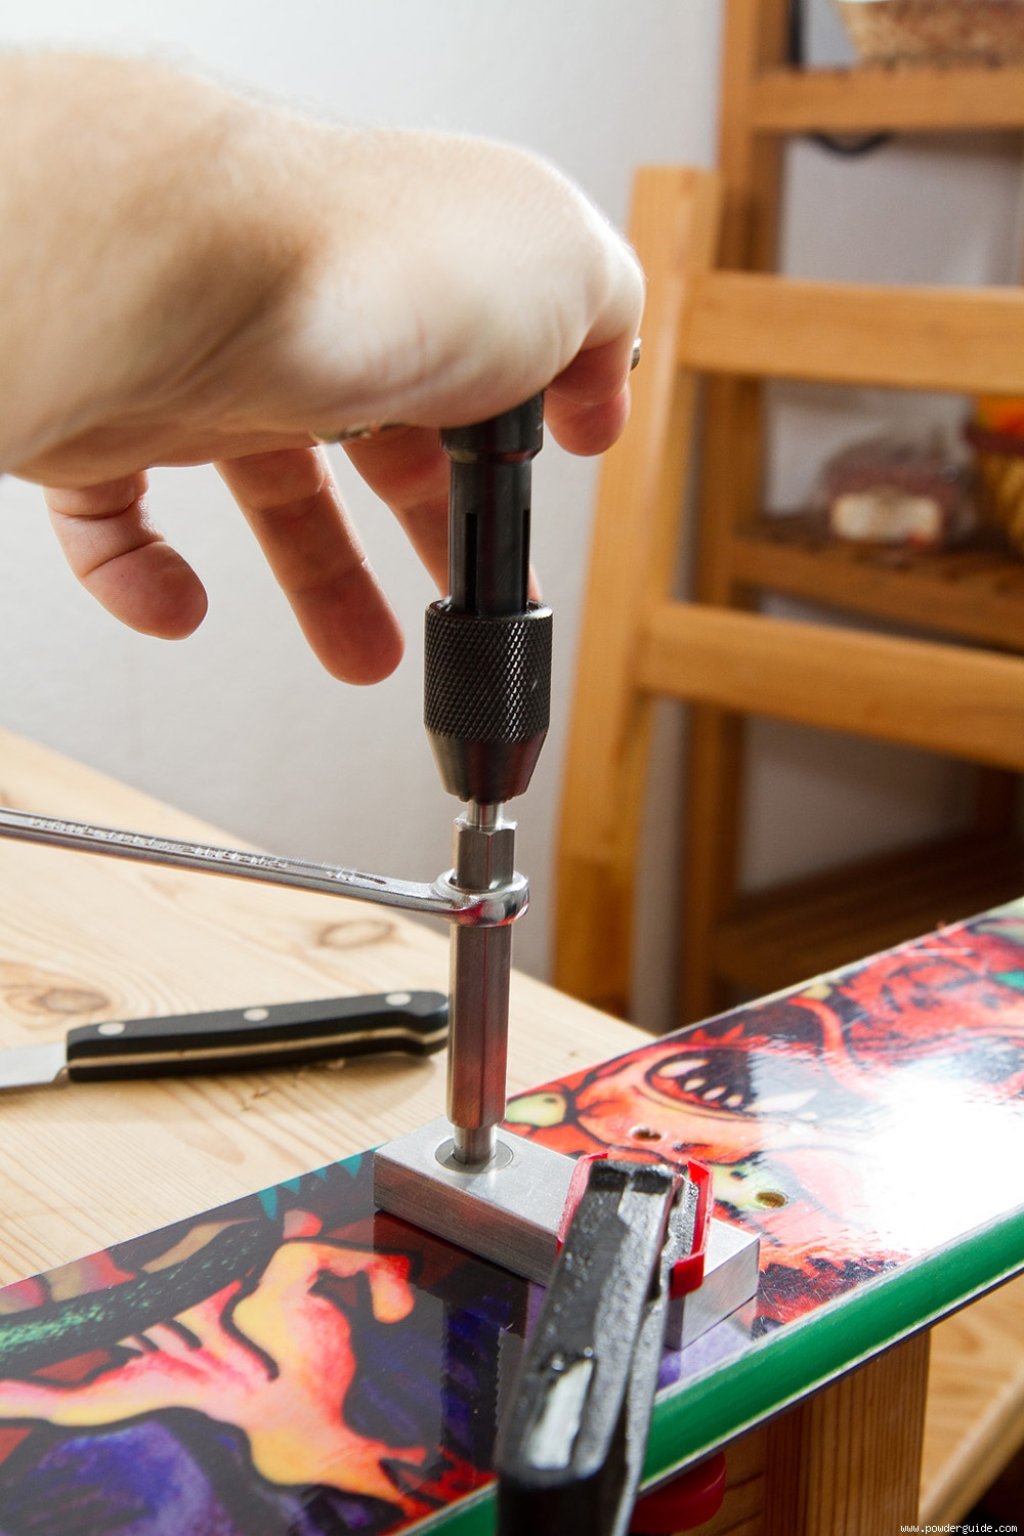
Now screw in the sockets using the tool you have made yourself (gallery image 5 & 6, below). They should be flush with the topsheet of the ski and there should be no noticeable bumps. If resin has penetrated the internal thread, it can be temporarily removed by screwing a screw in again and again and then wiping it off (preferably with acetone). You can also cut the thread free with a thread cutter after it has hardened, and now you just need to allow the epoxy to harden. This is best done in a warm place next to the heater.
Theoretically, the sockets can also be installed in one step. To do this, the holes are filled with resin directly after drilling and deburring and then the sleeve is drilled in as for tapping. Once the sleeve is fully screwed in, the nuts on the screw are loosened and the screw is then unscrewed. However, the two-step method offers more safety and control.
Conclusion
Setting binding gaskets using RAMPA sockets is inexpensive, but requires a certain amount of manual skill and a well-equipped workshop. Furthermore, with their opening at the bottom, the sleeves have a weak point through which water could penetrate into the core if the bonding is not carried out properly. On the other hand, the thread is well developed and holds well in the wood.
In addition, the investment costs are limited, replacement is easy and, with practice, setting the inserts is not rocket science. The costs are affordable even if you don't plan to equip many skis with inserts.
Alternatives
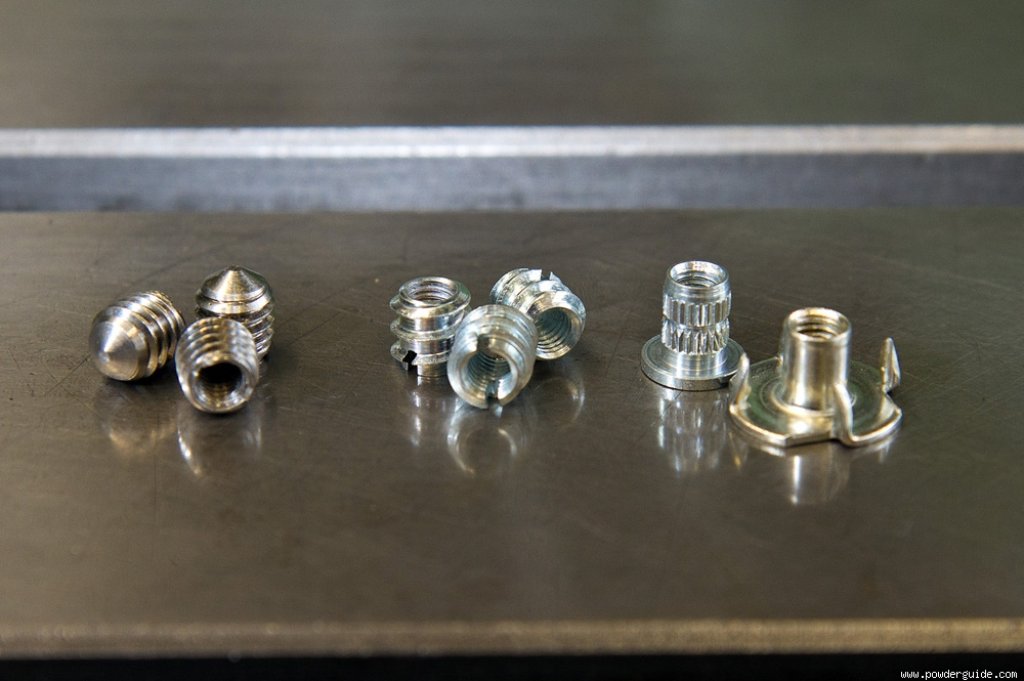
Alternatives are unfortunately rare. Drive-in nuts, which are inserted on the topsheet side, are ruled out due to justified doubts about their strength, especially when it comes to tearing out. Inserts installed on the base side are certainly durable, but are very complicated to install and require additional base work. Specialized ski repair shops offer screw-in inserts made of brass. However, these have no advantages over RAMPA sockets, are usually more expensive and are designed for binding screws instead of machine threads. This means that repeated installation is only recommended to a limited extent.
The mounting plates from Binding Freedom are an alternative worth mentioning. These are aluminum plates that are normally screwed onto the ski and usually fit two specific binding types (an alpine binding and a touring binding). No more manual skill is required than for simple binding mounting and you don't have to drill a lot of holes in the ski. The disadvantage is the slightly increased weight due to the plate and the increased standing height. In addition, the available binding compositions are limited.
Installing the binding
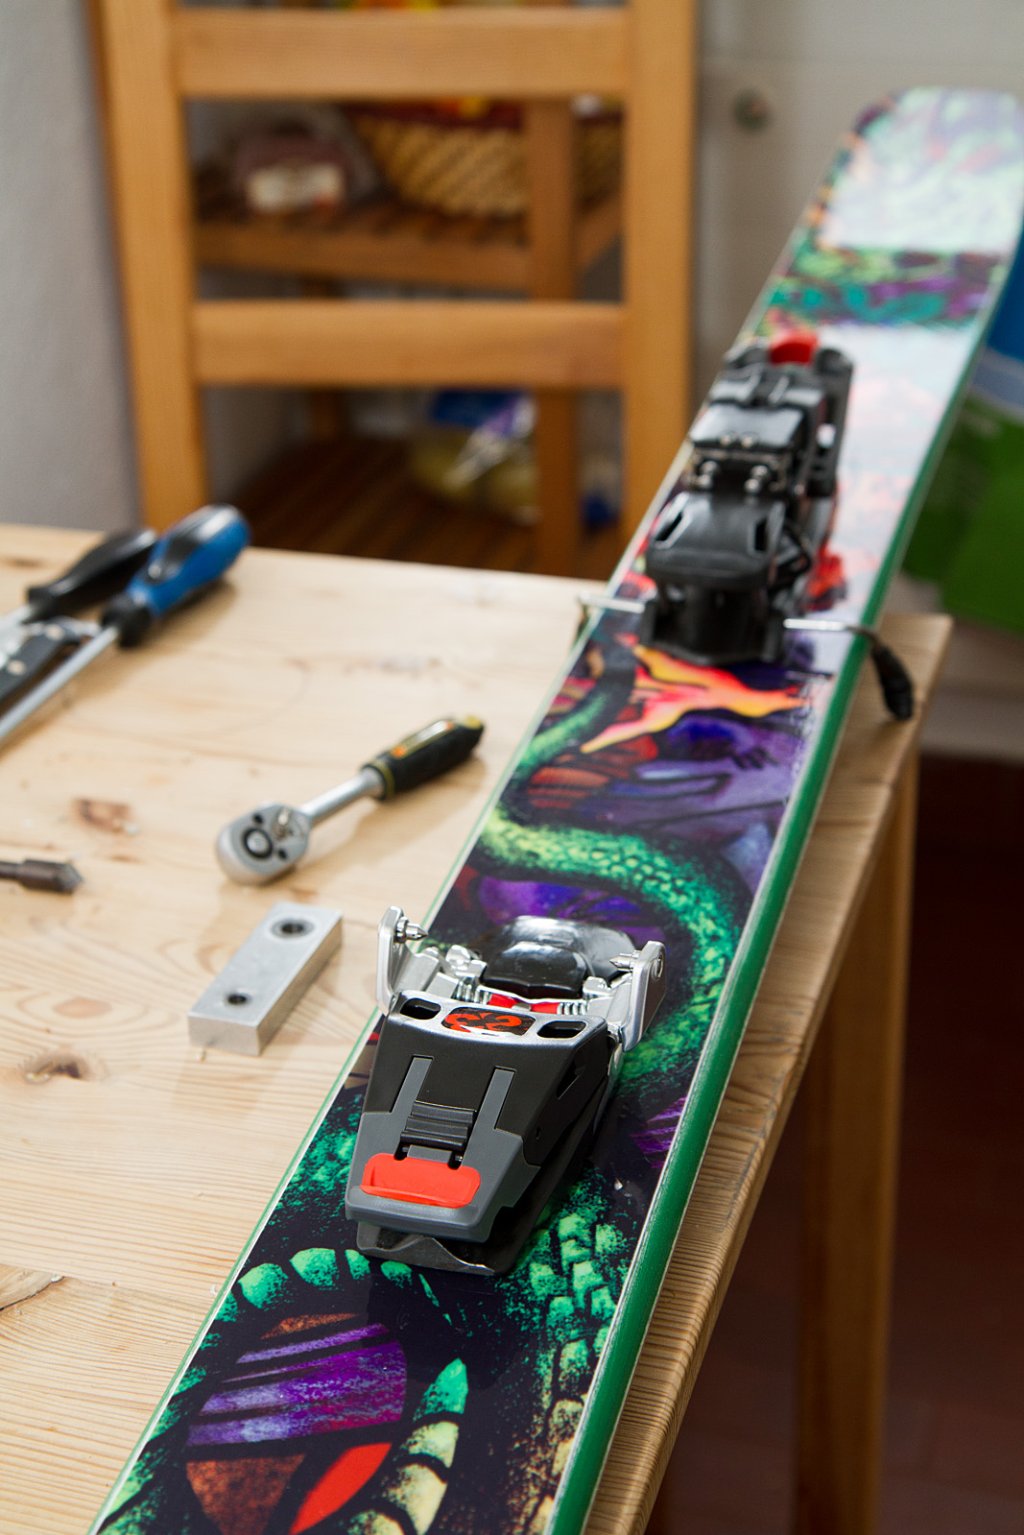
Once you have the right machine screws, mounting the binding is not rocket science. Screws are available from well-stocked hardware stores (or as a complete binding-specific set from Binding Freedom). They should have the same head shape as the original binding screws, but be 1-3 mm shorter.
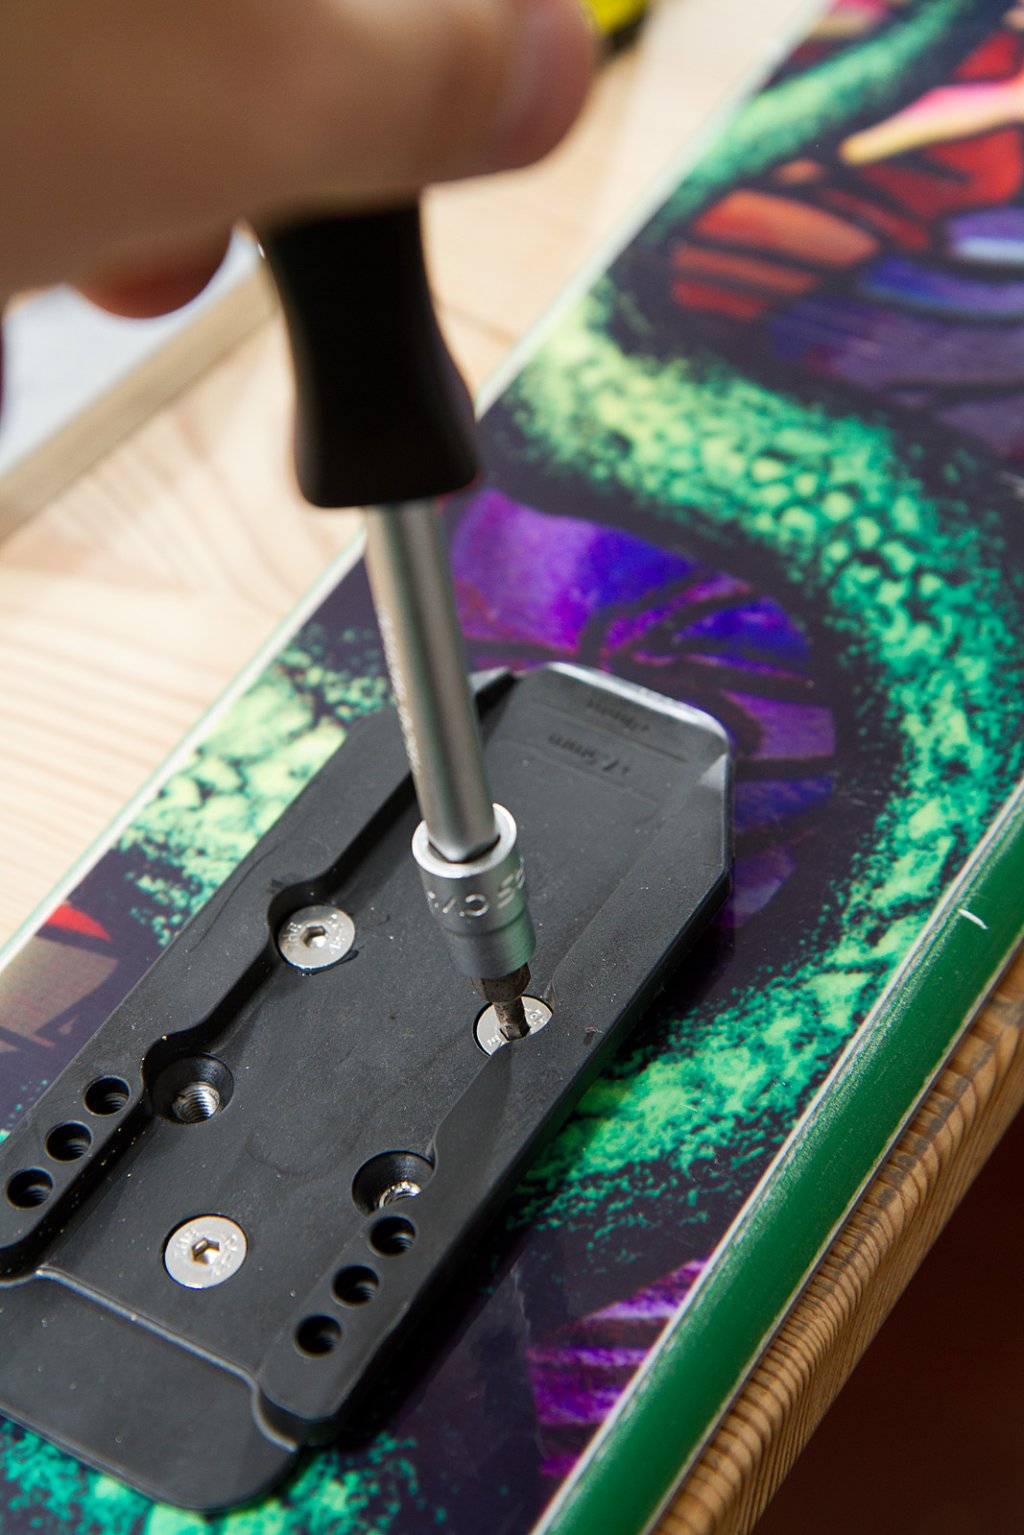
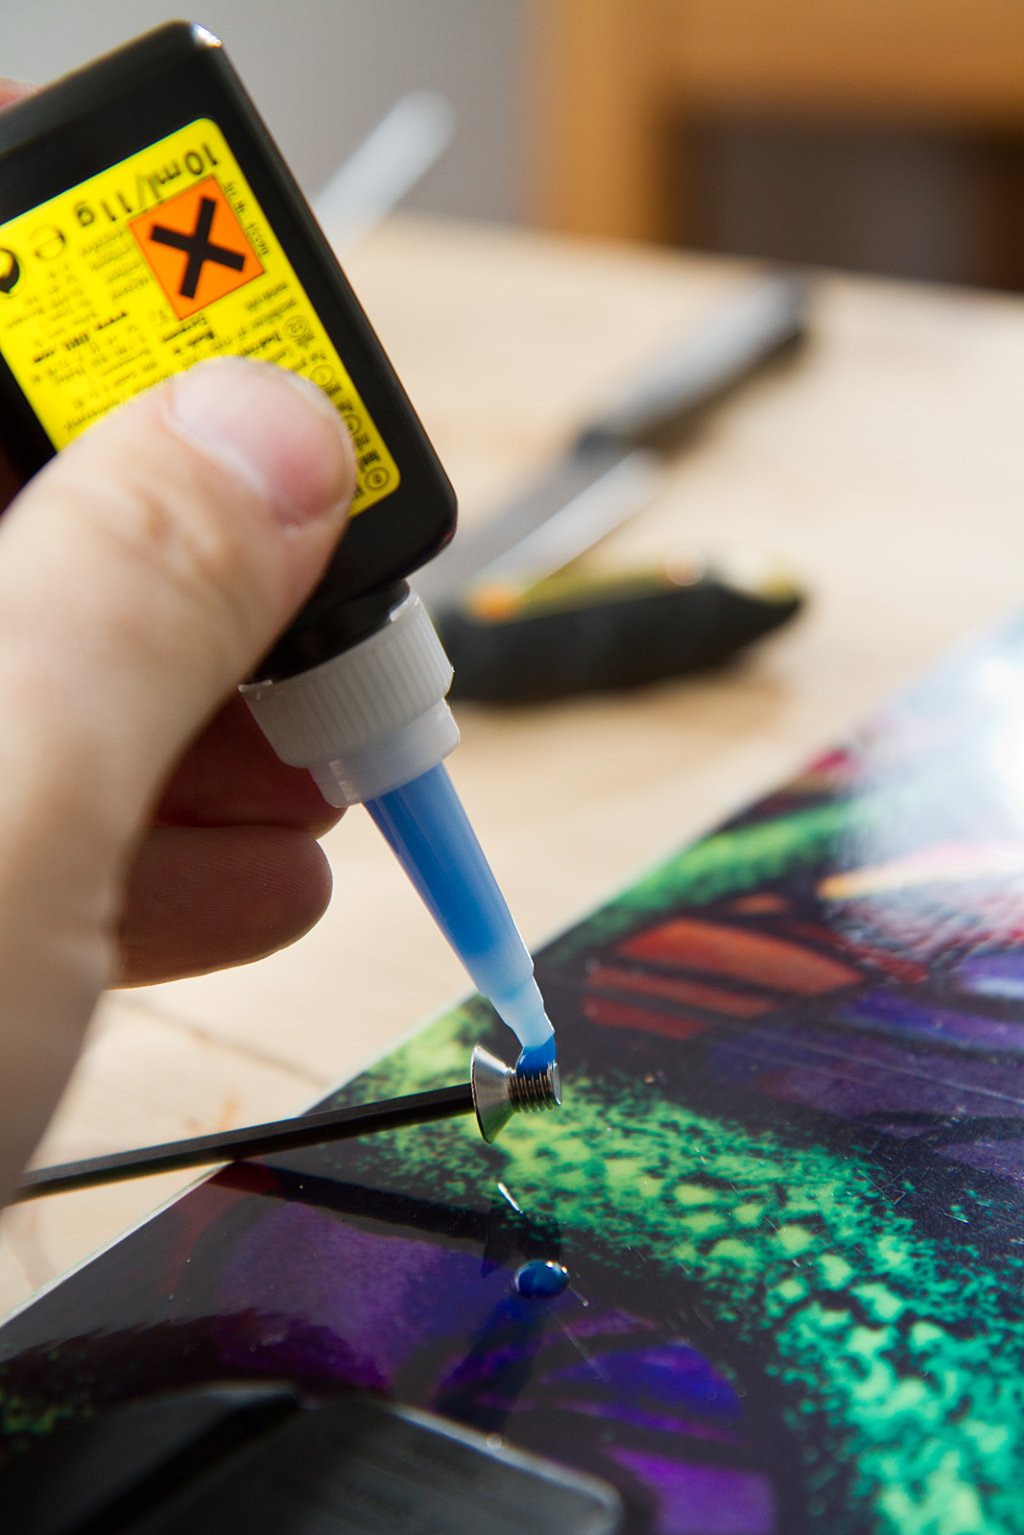
For assembly, apply a little screw adhesive for removable connections (gallery image 7, above) and then hand-tighten the screws (gallery image 8, above). Now you have a ski with a binding that you can remove at any time (gallery image 9, above). Or where you can change the binding type - provided you have the appropriate inserts (gallery image 10, above).
Sources of supply
Binding Freedom inserts, installation tools, binding screws or mounting plates: www.bindingfreedom.com
RAMPA sleeves: In larger quantities directly from RAMPA or in smaller quantities from Pfahl Verbindungstechnik
Werkkeuge zur Skimontage und Zubehör: Ski-Man, Ski-Man Schweiz, Reichmann, Maislinger-Snoli
To the article Binding assembly (here you can also find the drilling templates)
.